Building your own kitchen cabinets can be a rewarding project that not only saves money but also allows you to customize your kitchen to your exact specifications. Whether you’re crafting a completely custom kitchen or just adding some additional storage, knowing how to build custom kitchen cabinets is a valuable skill for any DIY enthusiast.
This guide provides step-by-step instructions and tips on how to build kitchen cabinets, including finding free plans and constructing custom and base cabinets.
Key Takeaways:
- Building kitchen cabinets is a project that can significantly enhance the functionality and aesthetics of a kitchen.
- With the right tools and detailed plans, it’s possible to create beautiful, custom kitchen cabinets that reflect your style and meet your needs.
Table of Contents
The Basics of Cabinet Building
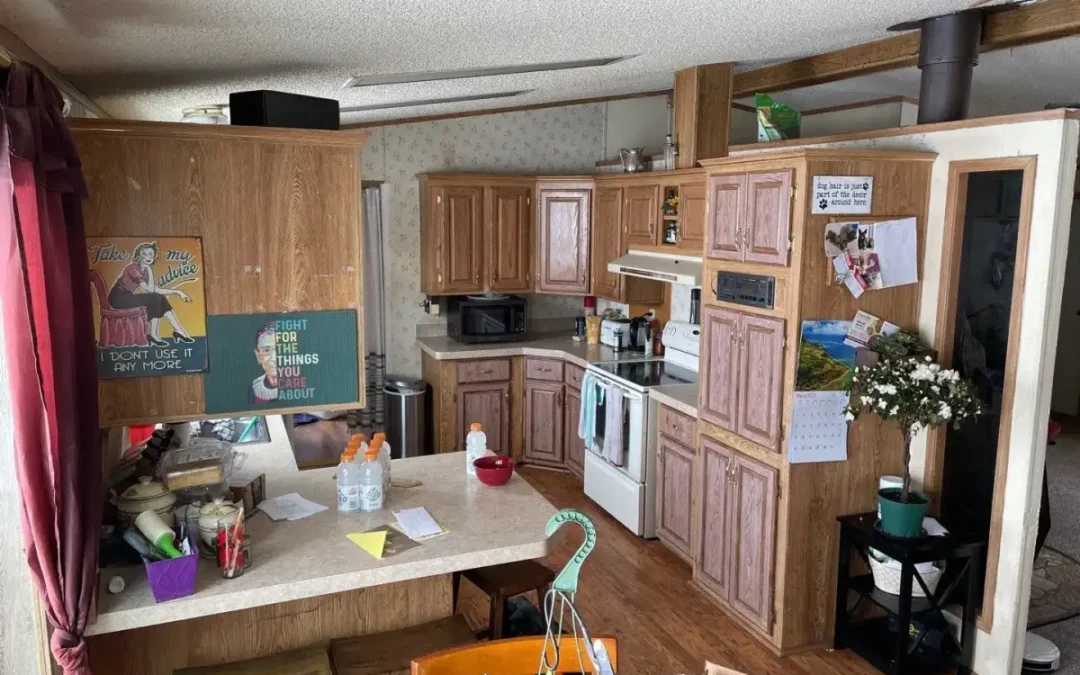
Before building kitchen cabinets, it’s essential to understand the basic components. A standard kitchen cabinet has a box frame, front facing, shelves, and doors. Base cabinets are the foundation of the kitchen layout, sitting on the floor, and supporting countertops.
Tools and Materials Needed
- Measuring tape
- Plywood (for the cabinet boxes)
- Hardwood (for doors and face frames)
- Hinges and door handles
- Screws and nails
- Wood glue
- Table saw or circular saw
- Drill
- Sandpaper or electric sander
- Wood finish or paint
How to Build Kitchen Cabinets
Step 1: Design Your Cabinets
Start by planning your design. Decide whether you want standard-size cabinets or something custom. Utilize online resources to find kitchen cabinet free plans that can provide a variety of designs that might suit your needs. Make sure your plan includes all dimensions and materials.
Step 2: Cut Your Materials
Using your design plans, cut the plywood for the cabinet boxes and the hardwood for the doors and frames. It’s crucial to measure twice and cut once to ensure accuracy. For the base cabinets, make sure the materials you choose can support the weight of the countertop and anything else they will hold.
Step 3: Assemble the Cabinet Box
Begin by assembling the frame of your cabinet. Apply wood glue to the joints before screwing them together for extra stability. For base cabinets, ensure the frame is sturdy and level, as it will need to support significant weight.
Step 4: Build and Attach the Face Frames
Cut your hardwood to size for the face frames—the front-facing frame that adds stability and visual appeal. Attach the face frames to the front of the cabinet box using glue and nails for a seamless look.
Step 5: Add Shelves and Doors
Install internal shelves using shelf pins for adjustable shelving or nails for fixed shelves. For the doors, attach the hardware hinges to the door and then to the frame. Make sure the doors align properly and open and close smoothly.
Step 6: Finishing Touches
Sand all surfaces of the cabinet to prepare them for finishing. Apply your chosen finish or paint. Be sure to do this in a well-ventilated area and follow the manufacturer’s instructions for the best results.
Free Plans and Resources
There are numerous online resources where you can find how to build kitchen cabinets free plans. These plans can serve as a starting point that you can modify to fit your specific needs and dimensions. Websites like Ana White and This Is How I Made It offer a variety of DIY cabinet plans with detailed instructions and materials lists.
Contact Renovate It for Superior Kitchen Cabinet Sales and Installation
